Within the modern business world, your brand is a silent ambassador that presents you to the crowd. Create an impression of Elegance and awe of luxury as well as a degree of safety with the custom printed rigid boxes that make your product unique.
But, how is it possible to make this party favors with no identification of how you are going to assemble them perfectly? This ultimate installing guide provides you with everything you may need to know for how to apply rigid boxes to obtain a complete, professional look that would deliver the visual identity of your brand.
Picking the Best Personalized Rigid Case
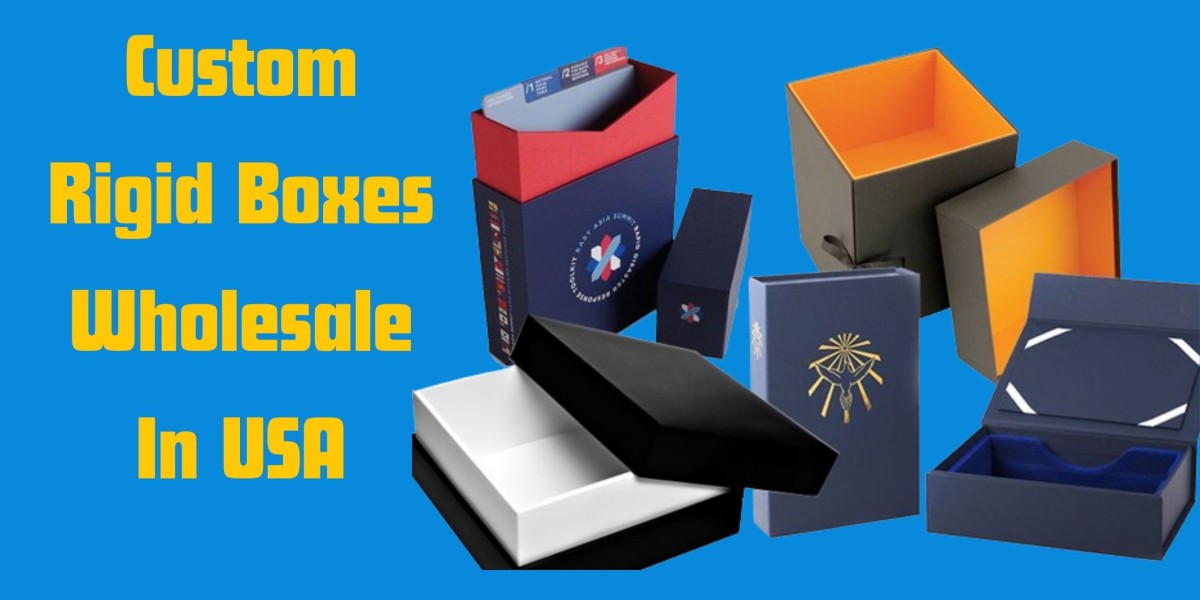
The success of the custom printed rigid boxes wholesale process rests on the choice of the proper boxes. Take consideration of the dimensions, material and functionality before your final shopping list. Will the compartment that you are opening contain a classy item of jewelry or a durable device? Go with a durable inside cardboard and cover it with a classy paperboard outside to have your recipient feel your cards ooze with luxury.
Understanding Box Components
Most rigid boxes come in two main parts: the boat is made of two parts, the base and the lid. The platform can either be a single piece or separate into a tray which indicates differences through compartmentalization. The lid is usually a decorated napkin and hinges are often used, if necessary for the process of smooth opening. Here's an overview of some of the main areas you need to work on to be able to assemble your bike effortlessly.
Toolkit's Contents
Get all the tools done so that you can’t fail by the time you get into installation. A good quality craft knife is my recommendation for fine-cutting tasks. A solid-ruled ruler keeps the curvy lines neat. For the secure fastening, you may use double-sided tape or some particular glue stick given only to papercraft. Using a soft cloth aids in cleaning the places that might have some scary adhesive labels.
Preparing the Base
Convert the base of the custom printed rigid boxes. Find out the sentence fragments where cutting lines are already marked. By precisely impressing lines with a straight edge and the use of a marker or pencil, how can a straight line be drawn accurately? Consider adding double-sided tape in designated areas for better stability.
Fixing the Tray
The underside of the lid will permit buyers to quickly see into the actual box. If there is a tray included, place the tray on the base tray that has identifiable places that tab or tape. Double-check and then carefully slip into place, aligning the tray edge by edge. Make sure to attach these items using double-sided tape so they remain secure.
Assembling the Lid
In the first step, find the grooves that correspond to the positions of the ruler on the lid of the custom printed presentation boxes with your printed logo. Folding these lines along the straight edge will be useful to make sure of a nice dramatic shape. If your lid has hinges, gently untie them softly to make sure they are moved smoothly.
Decorate The Top of The Lid
Indeed, tended custom printed rigid boxes are supplied with complimentary decorative paper for kids as well. Make sure the film aligns to the top flatly, so there will be no film pulling back during the process. Make use of a sharper craft knife and a ruler to start cleaver cuts on the lines for hinges or closures.
Save the Decorative Wrap
Meticulously snugly the fluffing ornamental façade towards the inside to have a presentable outer finish for the lid as a result. Seal the paper with transfer tape or secure it with a glue stick specifically formulated for crafting paper. Ensure that the adhesive is done neatly and is also free of any aspects of visible residue.
Final Touches
As a last quality control measure, inspect your assembled custom rigid boxes for any imperfections. Polish the crease with a soft piece of cloth to clean any excess glue. What makes customizing your boxes even more attractive is that you can come up with a logo sticker or a small bow to add an extra bit of elegance.
Shine Above All Brands
You’ve accomplished this task with your immaculate, reserved boxes and can create a lasting effect. The luxurious finish from the superior materials and a touch of customers’ personal preferences, together with the neat installation, increase the brand in its high status. Consider that presentation is key, and custom rigid box packaging is just one of the ways you can empower your brand, your way of speaking about your brand identity.
Bonus Tip
Give a look at online resources and video tutorials for online instructions in watching visual demonstrations on the installation process. While art galleries and museums play a significant role in the art community, there is also a rising interest in learning and experiencing art through online mediums. With the rise of digital technology and the increasingly connected world, many artists and art lovers have embraced the possibilities of creating, showcasing, and engaging with art.
This function is useful for special designs such as the ones that are intricate, the ones with interesting details, or those that have some kind of unique features.
These above-mentioned elements are all that you need to unleash your inner creativity and turn these boring boxes into eye-catching innovative showcases which will bring your brand up to the next level and attract many customers.
Conclusion
By putting together the high-end crisply designed boxes, you've invented a gift that is awesome to unwrap. Custom printed rigid boxes originating from the wholesale world are essentially packaging beyond packaging; they grow into a component of brand identity. The upfront materials, touches of customization, and superior installation give your company a fresh upmarket positioning to the customers.